|
|
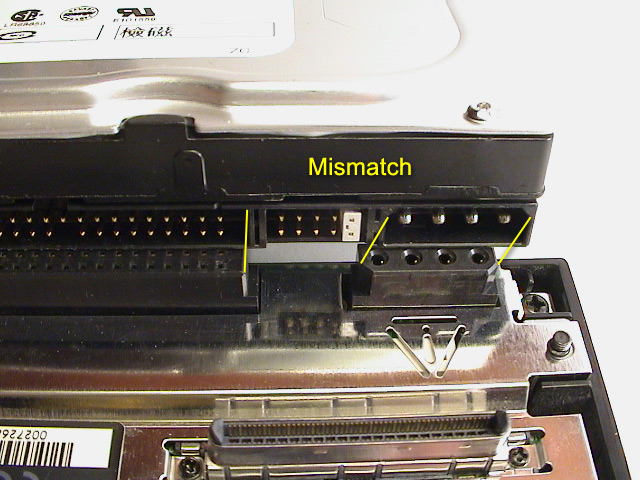
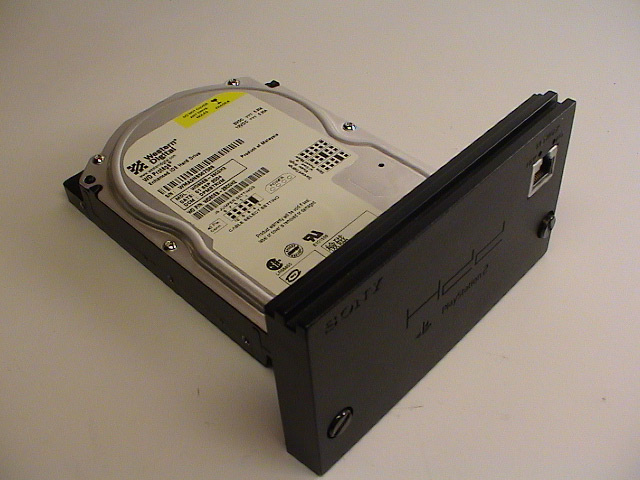
Modify Adapter to Fit Western Digital HDD This shows how to modify an european Sony HDD Ethernet Adapter (SCPH-10350 EE) to make it fit Western Digital hard drives. The Problem Because the molex and IDE connectors on the standard adapter cannot move freely enough, you have to modify the adapter to allow the molex and IDE connector to move past the physical restriction. The needed leeway, or extra space, to make both connectors fit is about 4-5 mm. By moving the connectors further apart this can be accomplished.
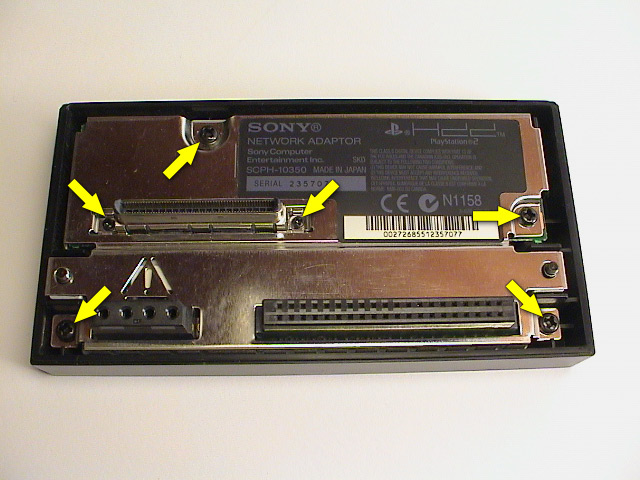
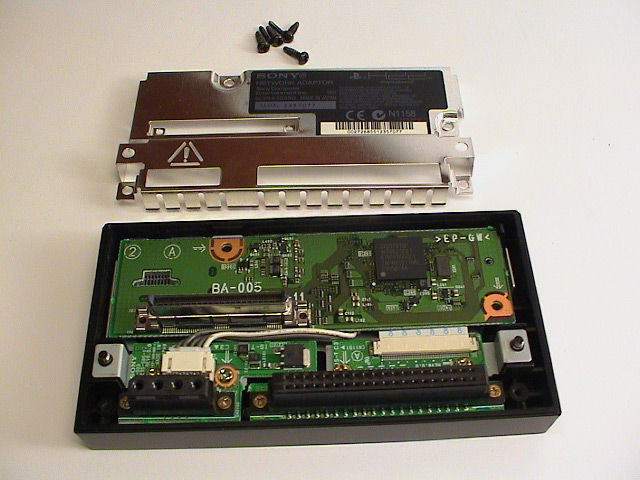
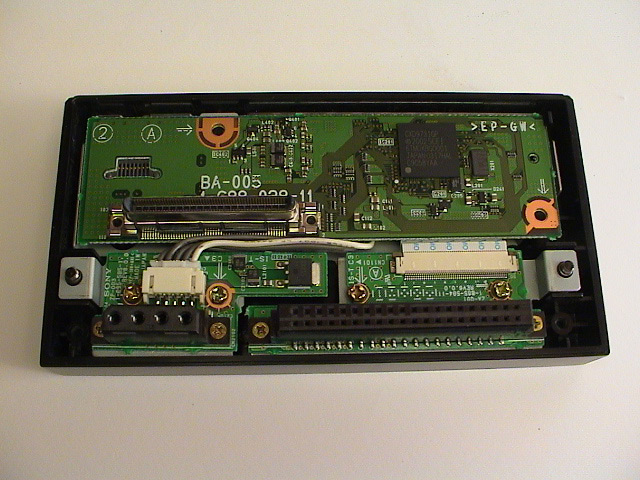
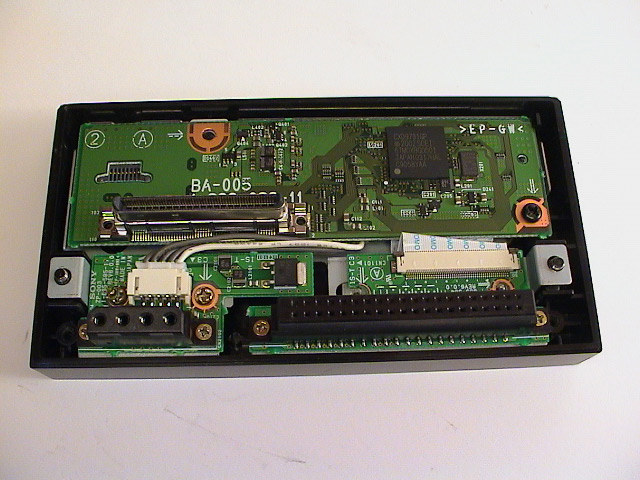
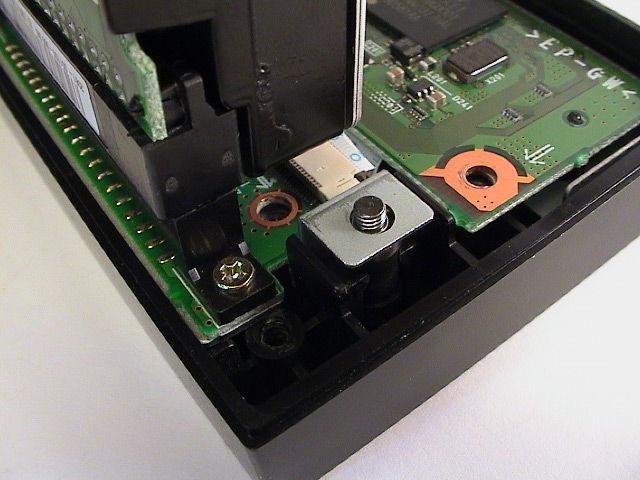
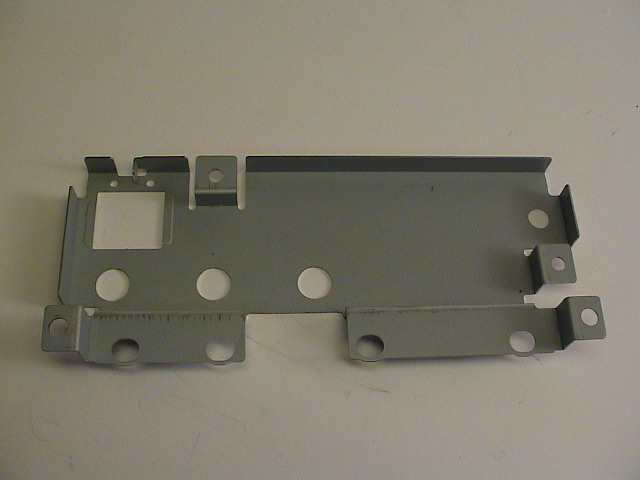
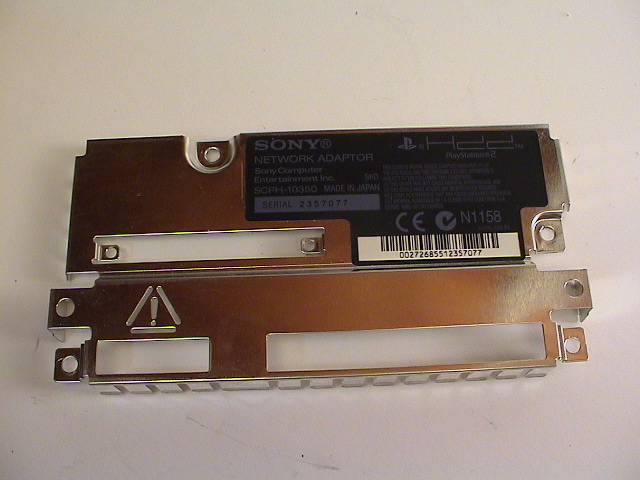
Open The Adapter Remove the 6 screws on the backside of the adapter and lift the metal shield to expose the PCB.
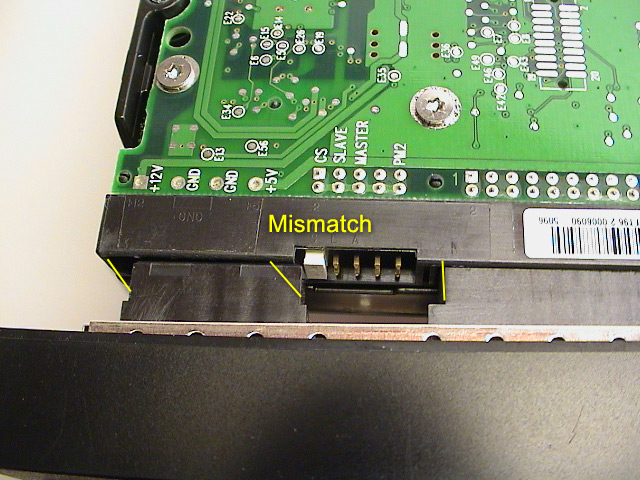
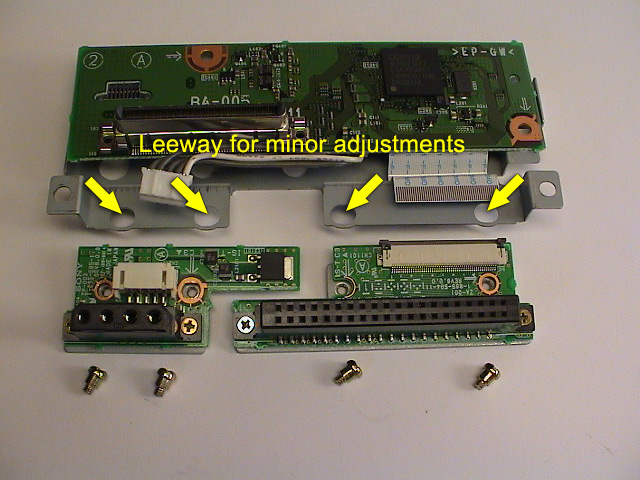
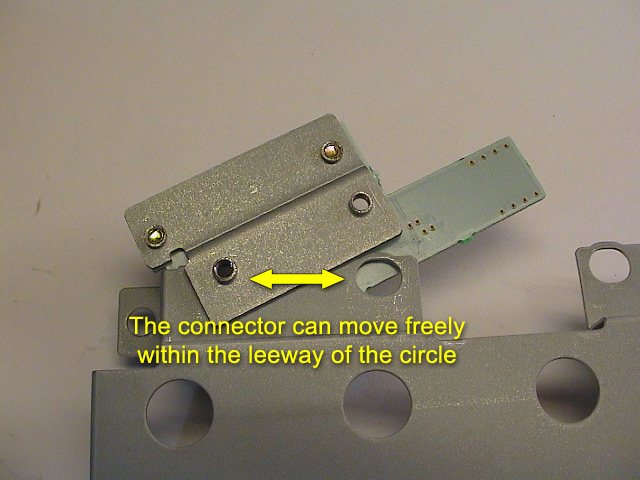
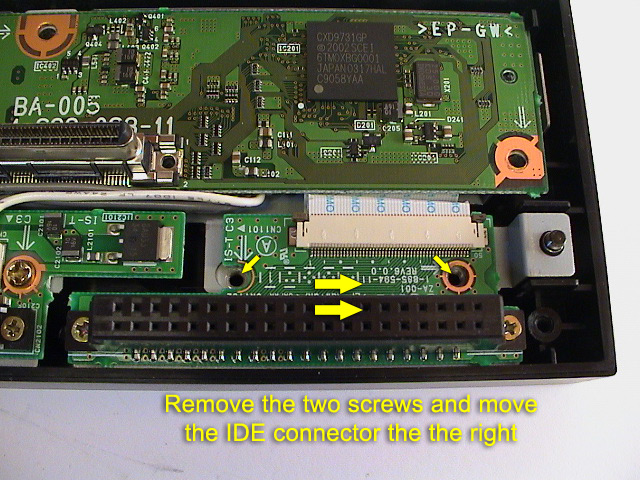
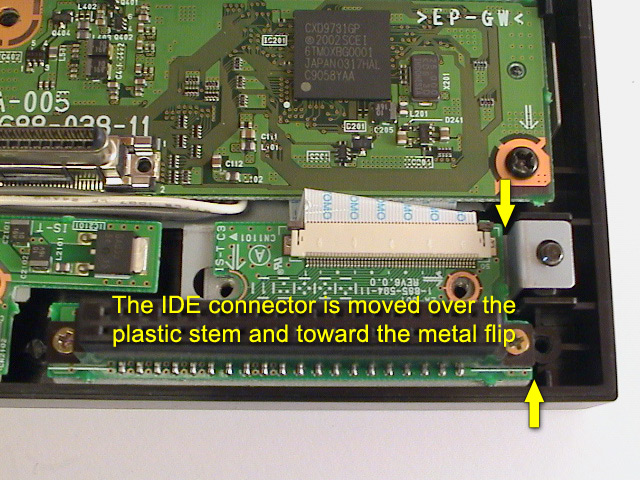
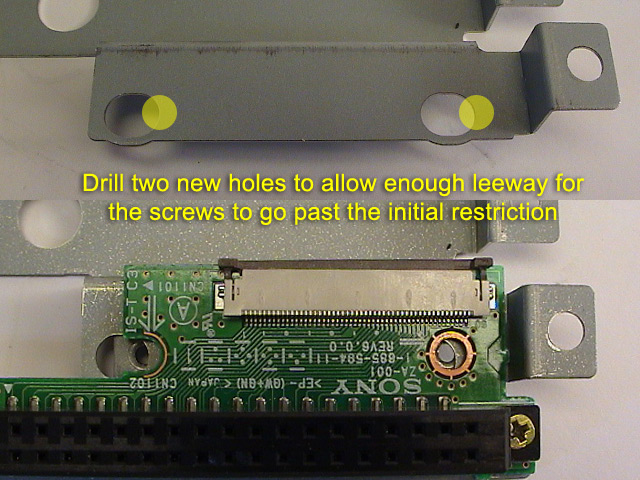
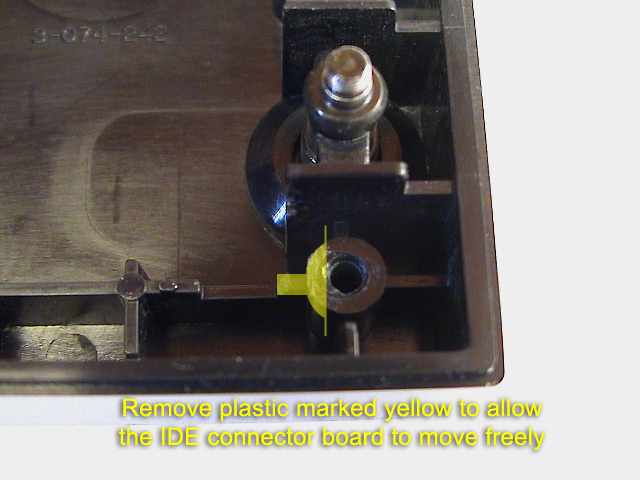
Restriction To get the extra leeway for the IDE connector, you have to move the connector past the restricting metal hole that is sandwiched between the connector PCB and the bottom metal plate. The metal plate is attached to the PCB by the two screws. Look at the pictures below to understand how it's constructed. There are two screws holding the IDE connector in place that needs to removed. This allows it to move further to the right.
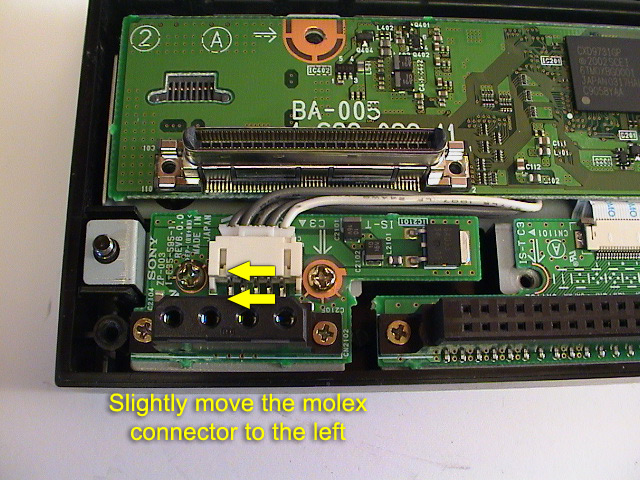
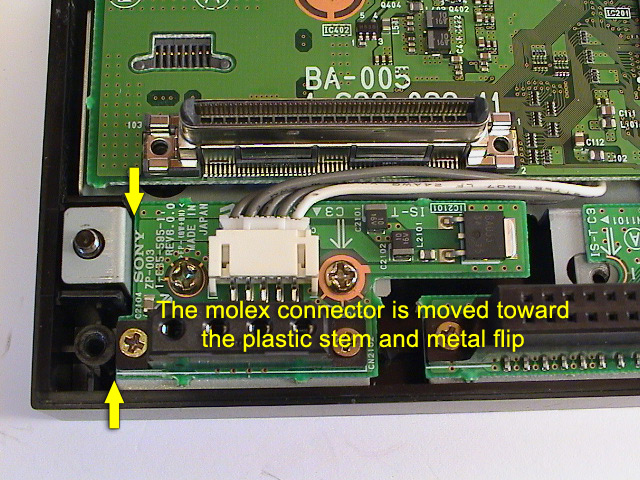
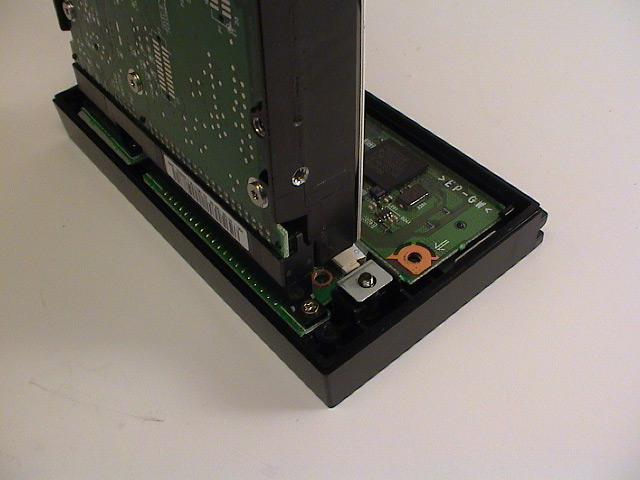
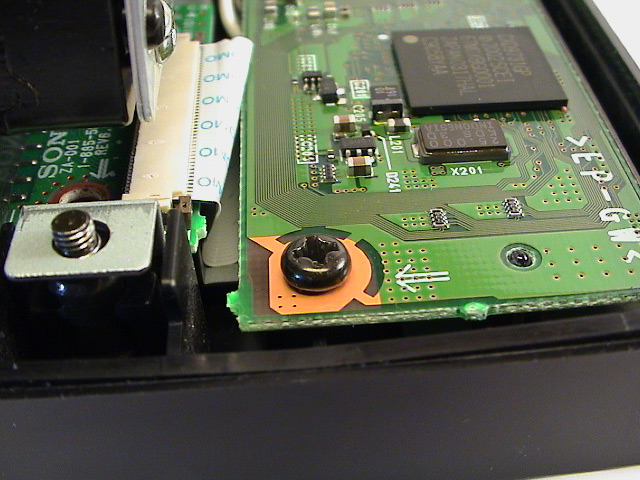
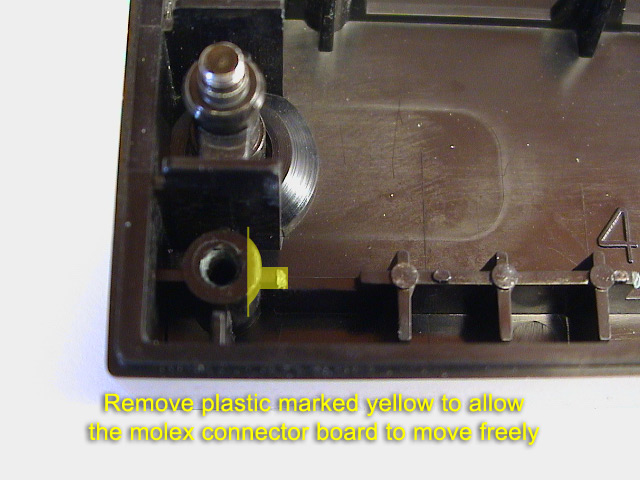
Move Connectors After removing the two screws on the IDE connector board, you can move the IDE connector as far as possible to the right until it touches the metal flip. You have to lift the connector plate somewhat for it rest on the plastic stem. Do the same for the molex connector, but on the left side there isn't much room to move it and you don't have to move it over the plastic stem. Don't remove any screws on the molex connector board.
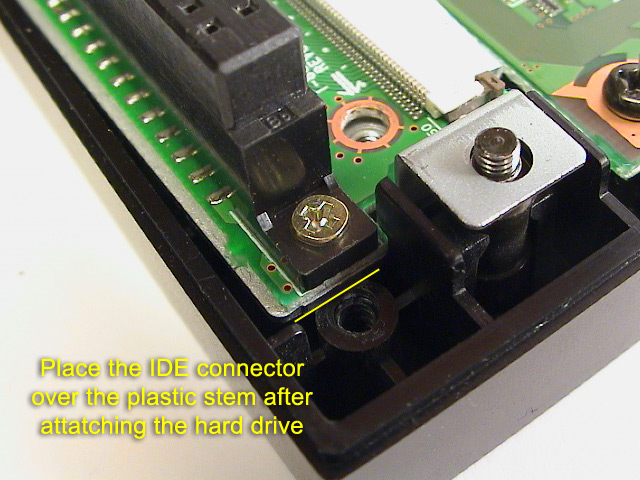
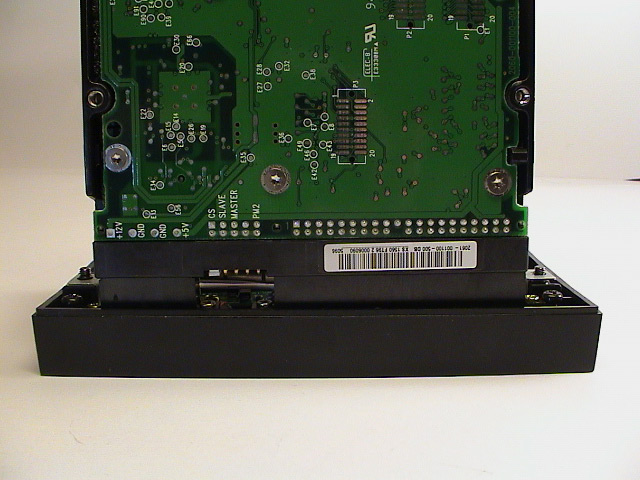
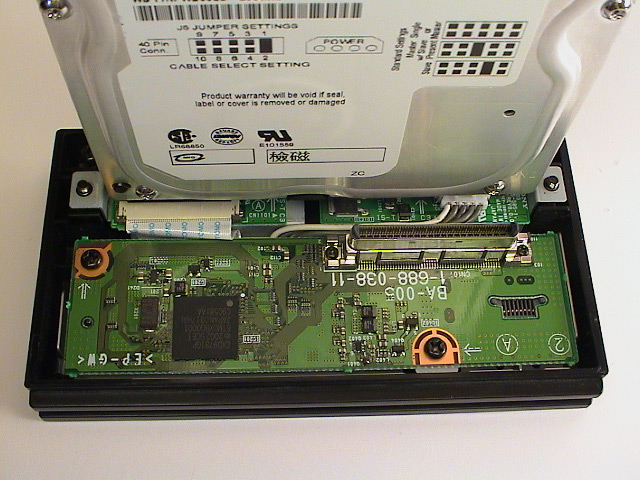
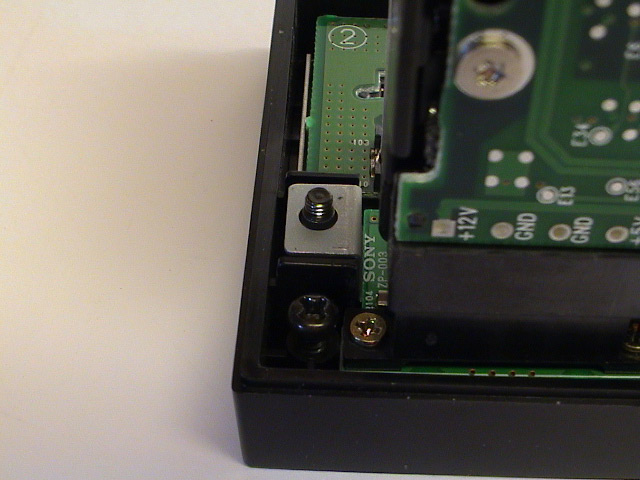
Attach Hard Drive When the connectors are free to move, attach the Western Digital hard drive. The easiest way to do that is by holding the hard drive with the connectors facing up and the hard drive labels away from you, then attach the adapter by pressing it down using your index fingers. The metal shield that protected PCB can be left off because it won't fit anymore. The adapter also completely attached to the back of the PS2 and is protected fairly good. But if you want to modify the shield you can check the 'Proper' section below. You can fasten the main PCB board with screws after attaching the hard drive.
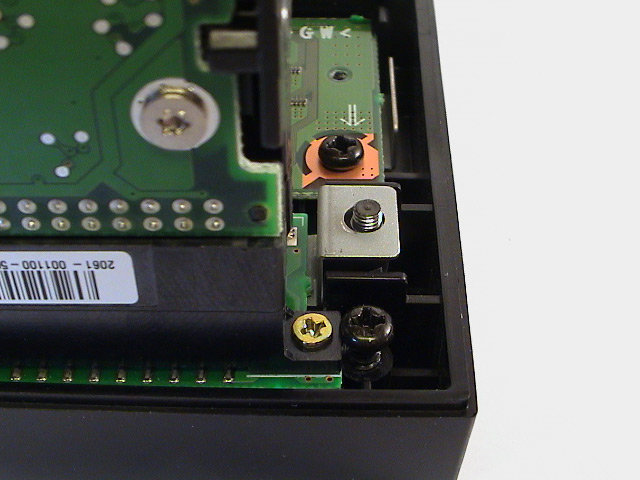
When you fasten the screws you want to make sure that the screw in the middle on the right side is not entirely screwed down or tightened at all because the IDE connector board would then be bent and stressed and could lead to damage on the small tracers and solders pads. The ribbon cable on the other hand can is flexible and can be bent without being damaged.
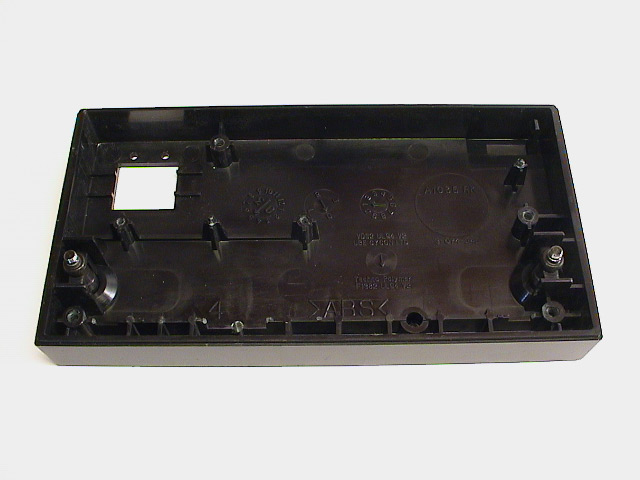
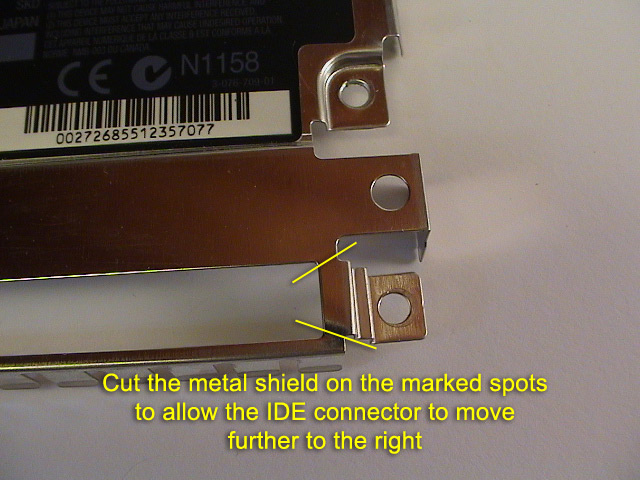
Your Western Digital hard drive should now finally be attached to the adapter and ready to be inserted into the back of the PS2. Proper Modification You can properly modify the adapter by widen the leeway holes, fasten the IDE connector board and modifying the metal shield. All this is mention in the pictures below. I didn't do any of these modifications because I like to still have the ability to revert back to the standard configuration. IDE Connector Leeway:
Plastic Stems:
Metal Shield:
ivc - 15. Nov 2005 |